Back-to-School Cookies

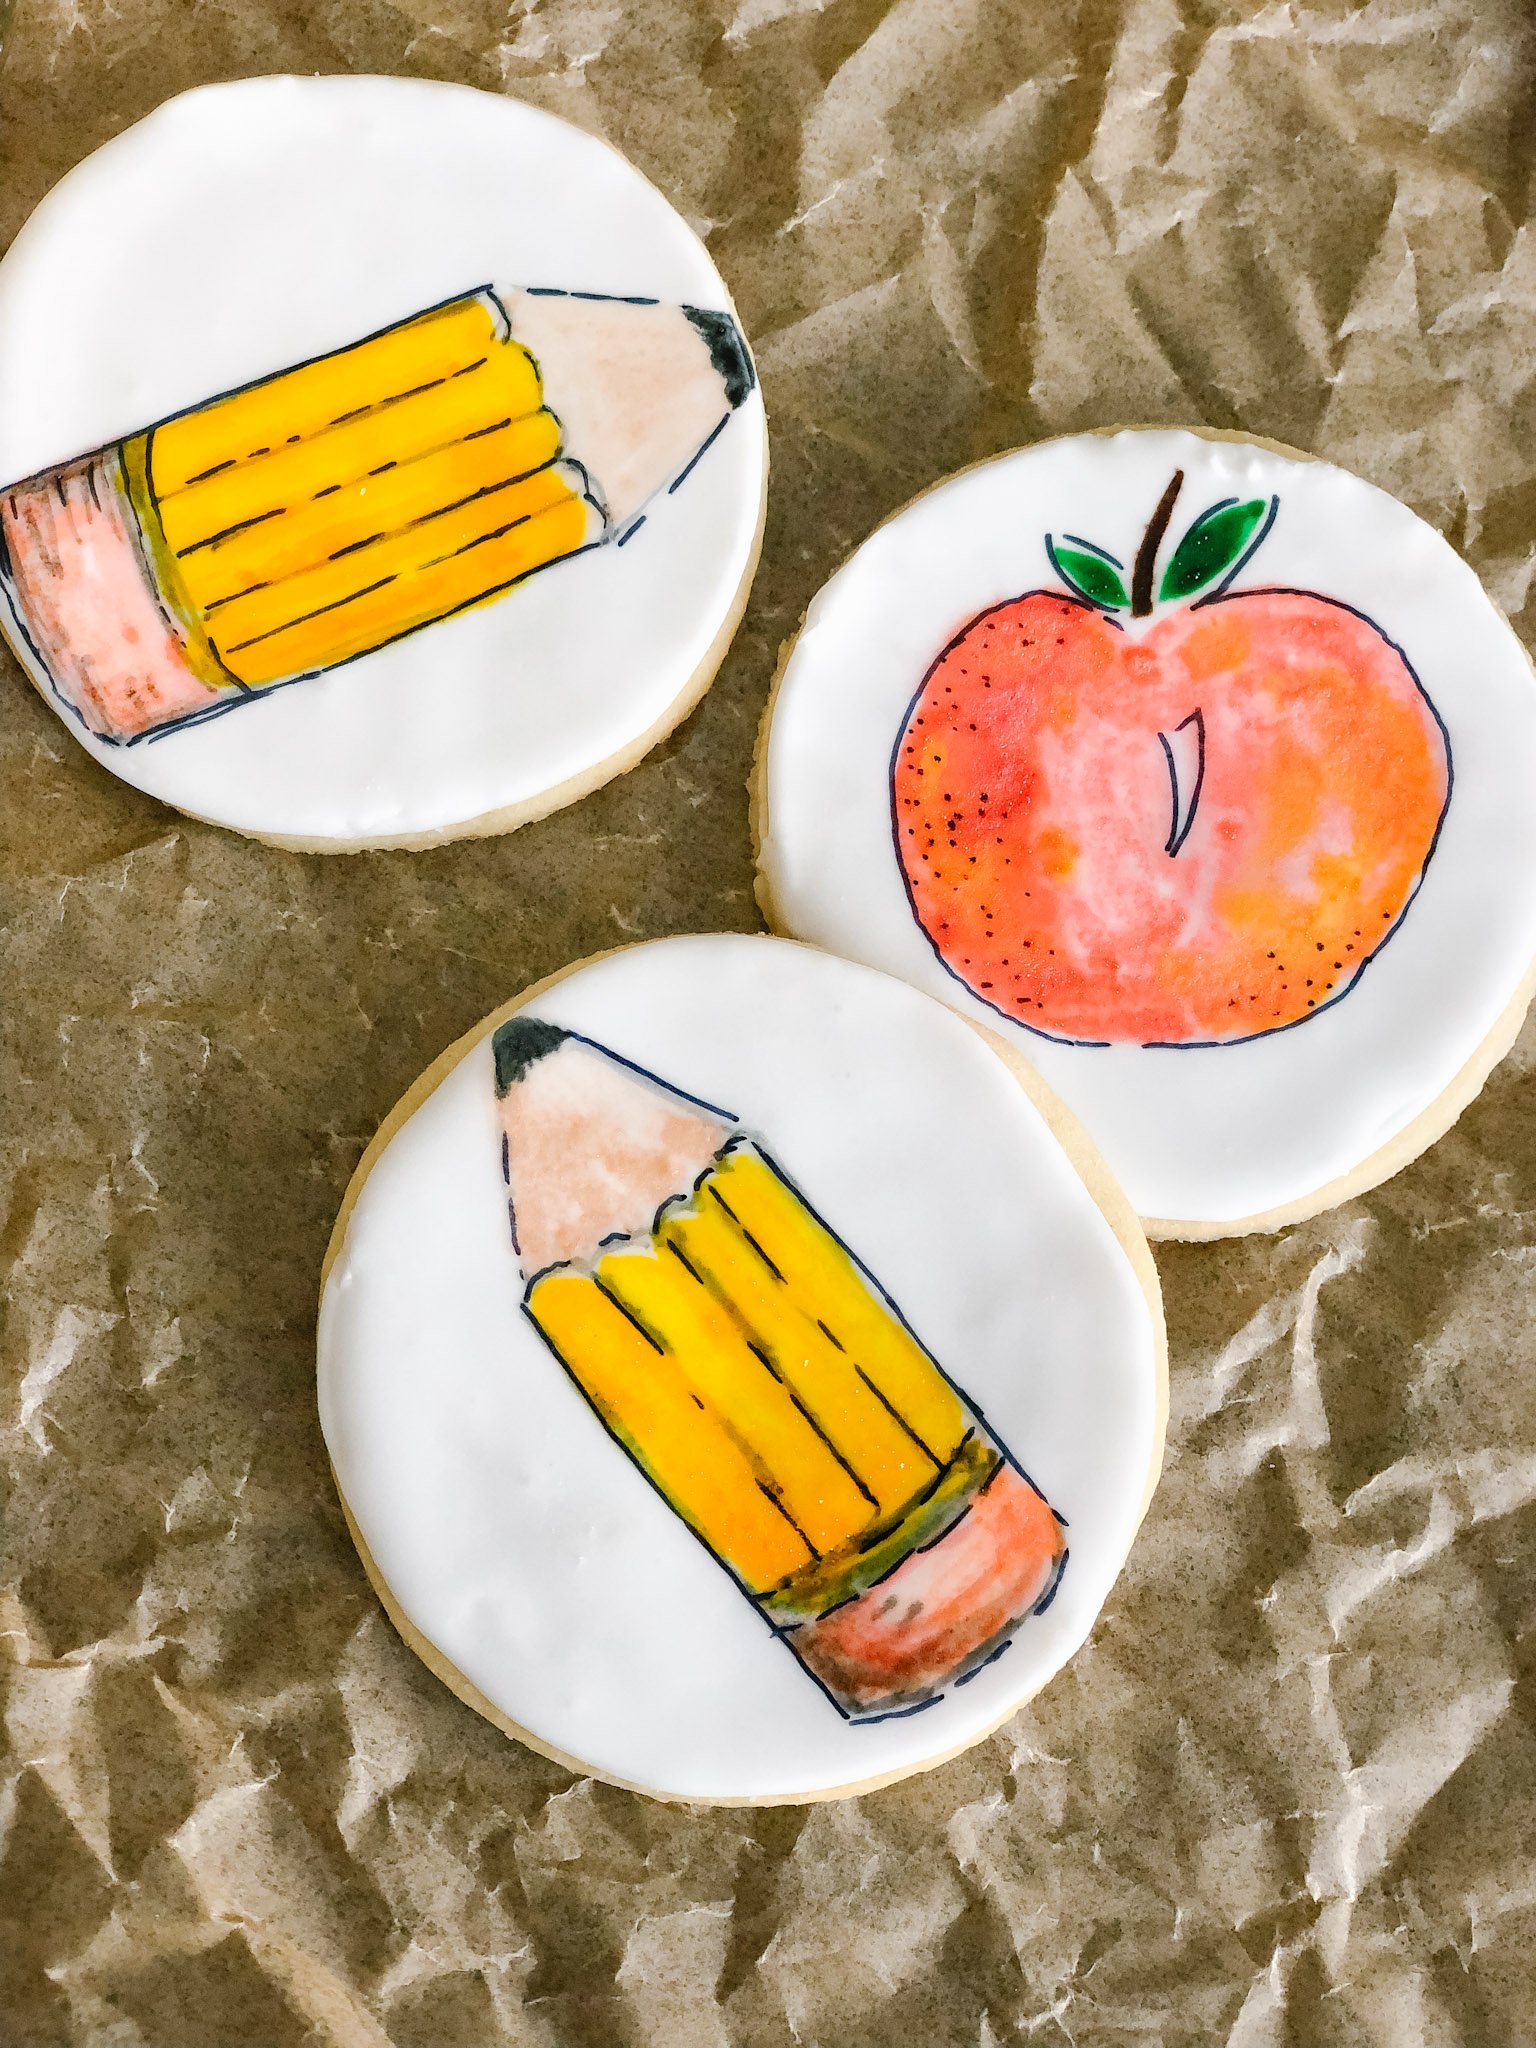
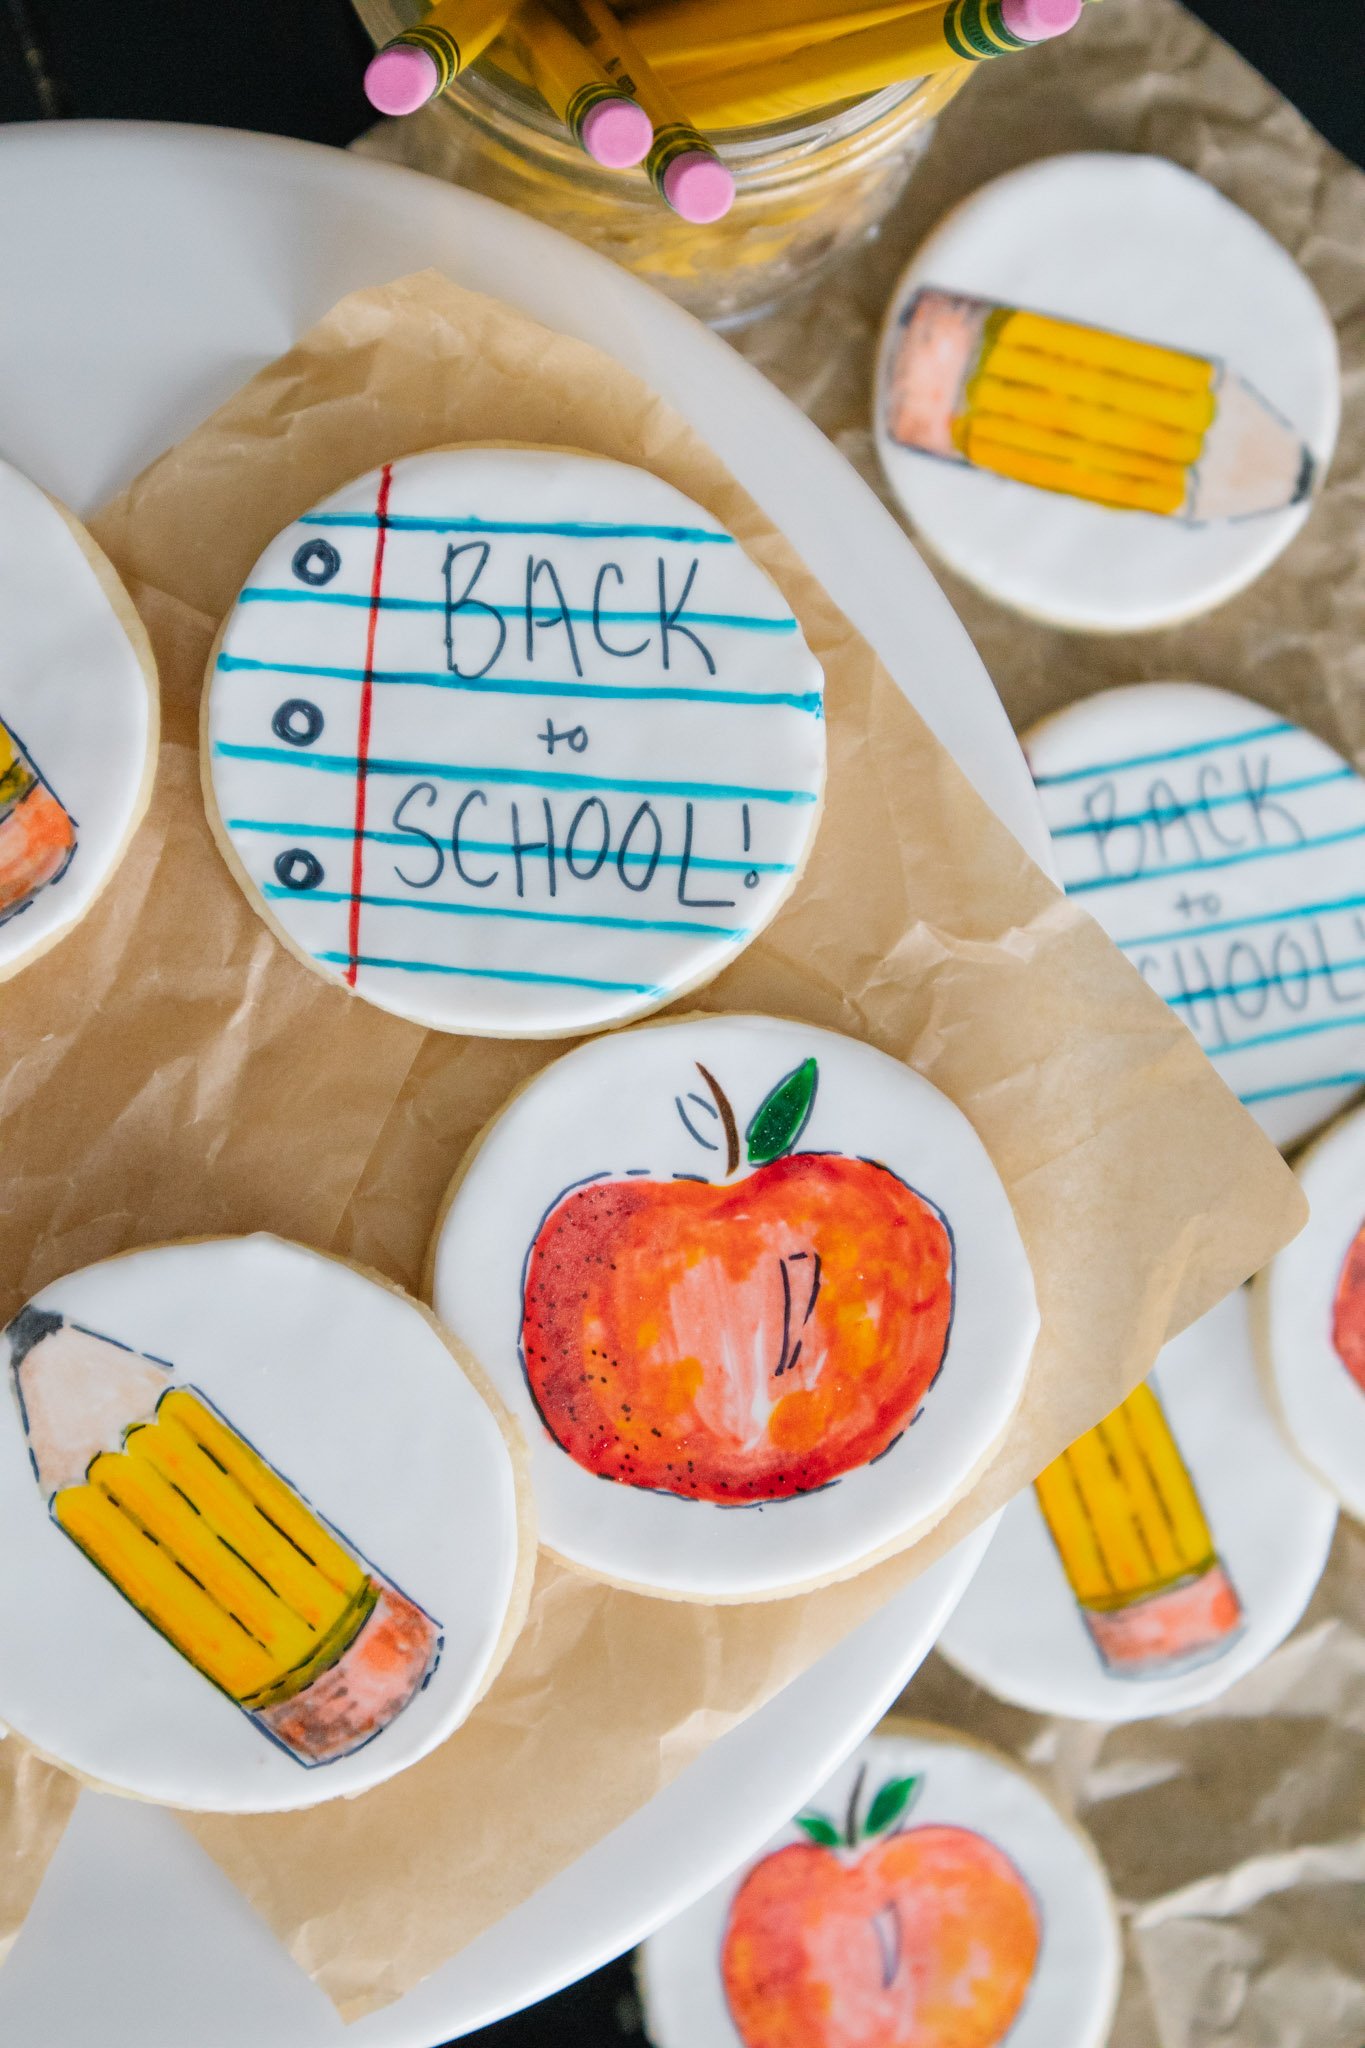
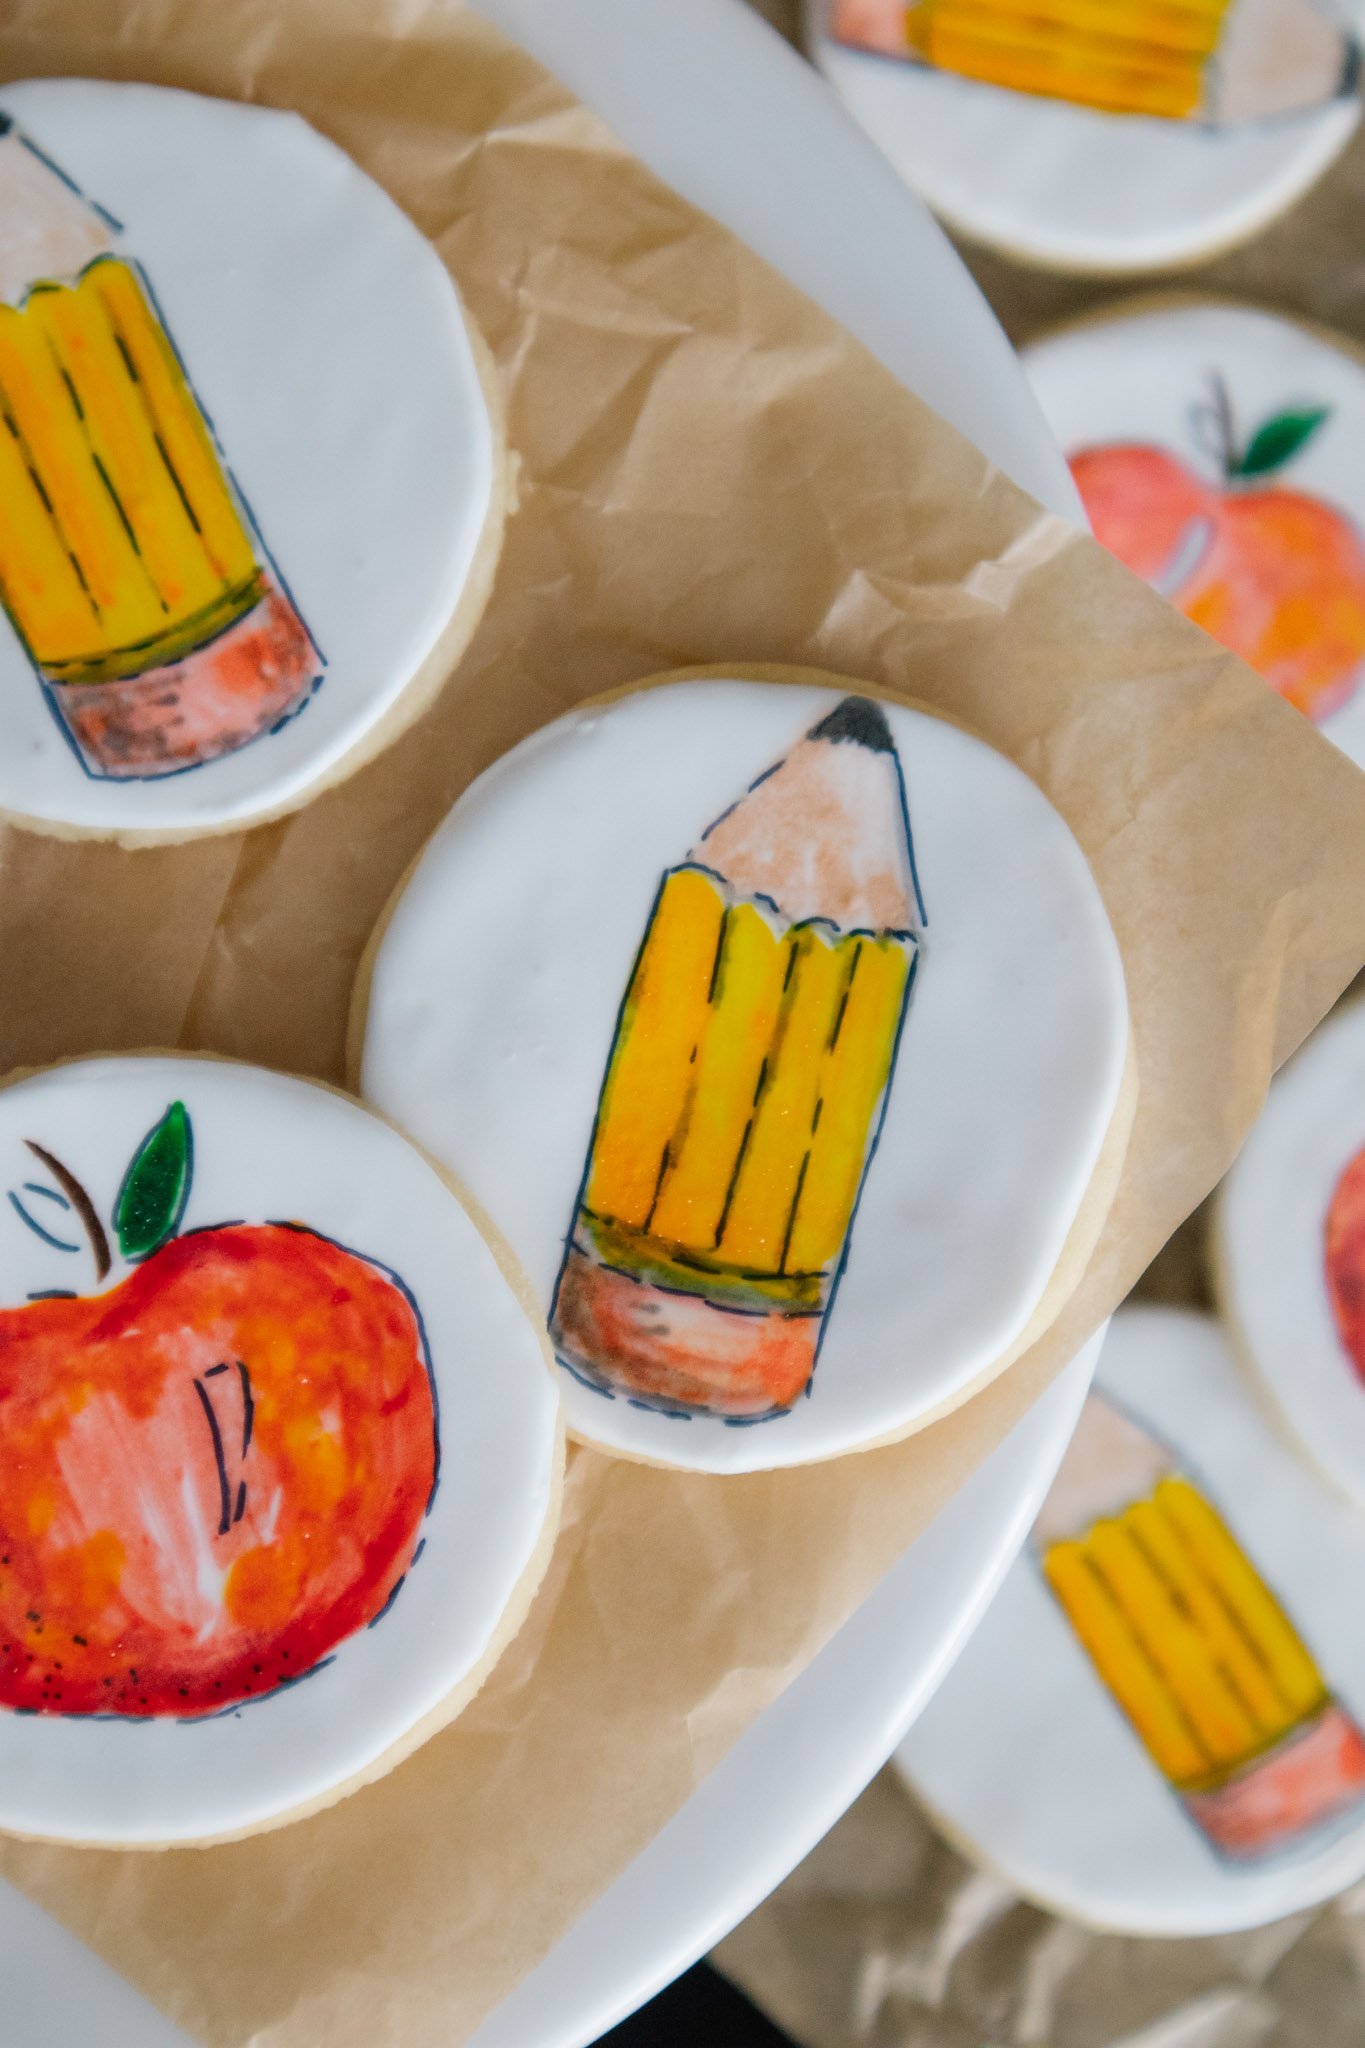
“Painted” Cookies
Summer flew by and the new school year has arrived here in Kansas City. With all the prep that goes along with the start of a new school year, I still love to carve out a little time to celebrate the change of seasons as well. These fun collection of cookies is a great way to do just that- bring all the sweet celebration of a new school year. Follow along to learn how to “paint” these back-to-school themed cookies with me (or you can jump into making strawberry cookies, flower cookies, and heart cookies as well). Let’s get to it!
To begin, bake and frost cookies by using my recipes below, using your own favorite sugar cookie recipe, or make it even easier and purchase pre-made cookies from your local baker. Once you have your cookies then the real fun of cookie painting can begin! Follow along here for all the directions you’ll need to make your own painted cookies.
Sugar Cookie Recipe (makes 24 cookies)
1 cup butter, softened
1 cup white sugar
1 egg
1 tsp vanilla extract
½ tsp almond extract
3 cups all purpose flour
2 tsp baking powder
Mix together the first 5 ingredients until smooth. Slowly incorporate flour and baking powder. Roll dough and use cookie cutters to shape. Place shapes on parchment lined cookie sheets. Bake at 350 for 6-8min. Remove from the oven before the edges brown. Cool completely before transferring cookies off of the cookie sheet.
Royal Icing (fills 18in piping bag)
4 cups confectioners sugar
5 tablespoons warm water (plus more as needed)
3 tablespoons meringue powder
2 teaspoons extract (either vanilla or almond)
Beat all ingredients together until icing forms peaks and peaks disappear after counting to 5. Add more water one tablespoon at a time until the right texture is achieved. Place icing into an 18in piping bag. Pipe a circle outlining the edges of the cooking and then flood the inside with icing.

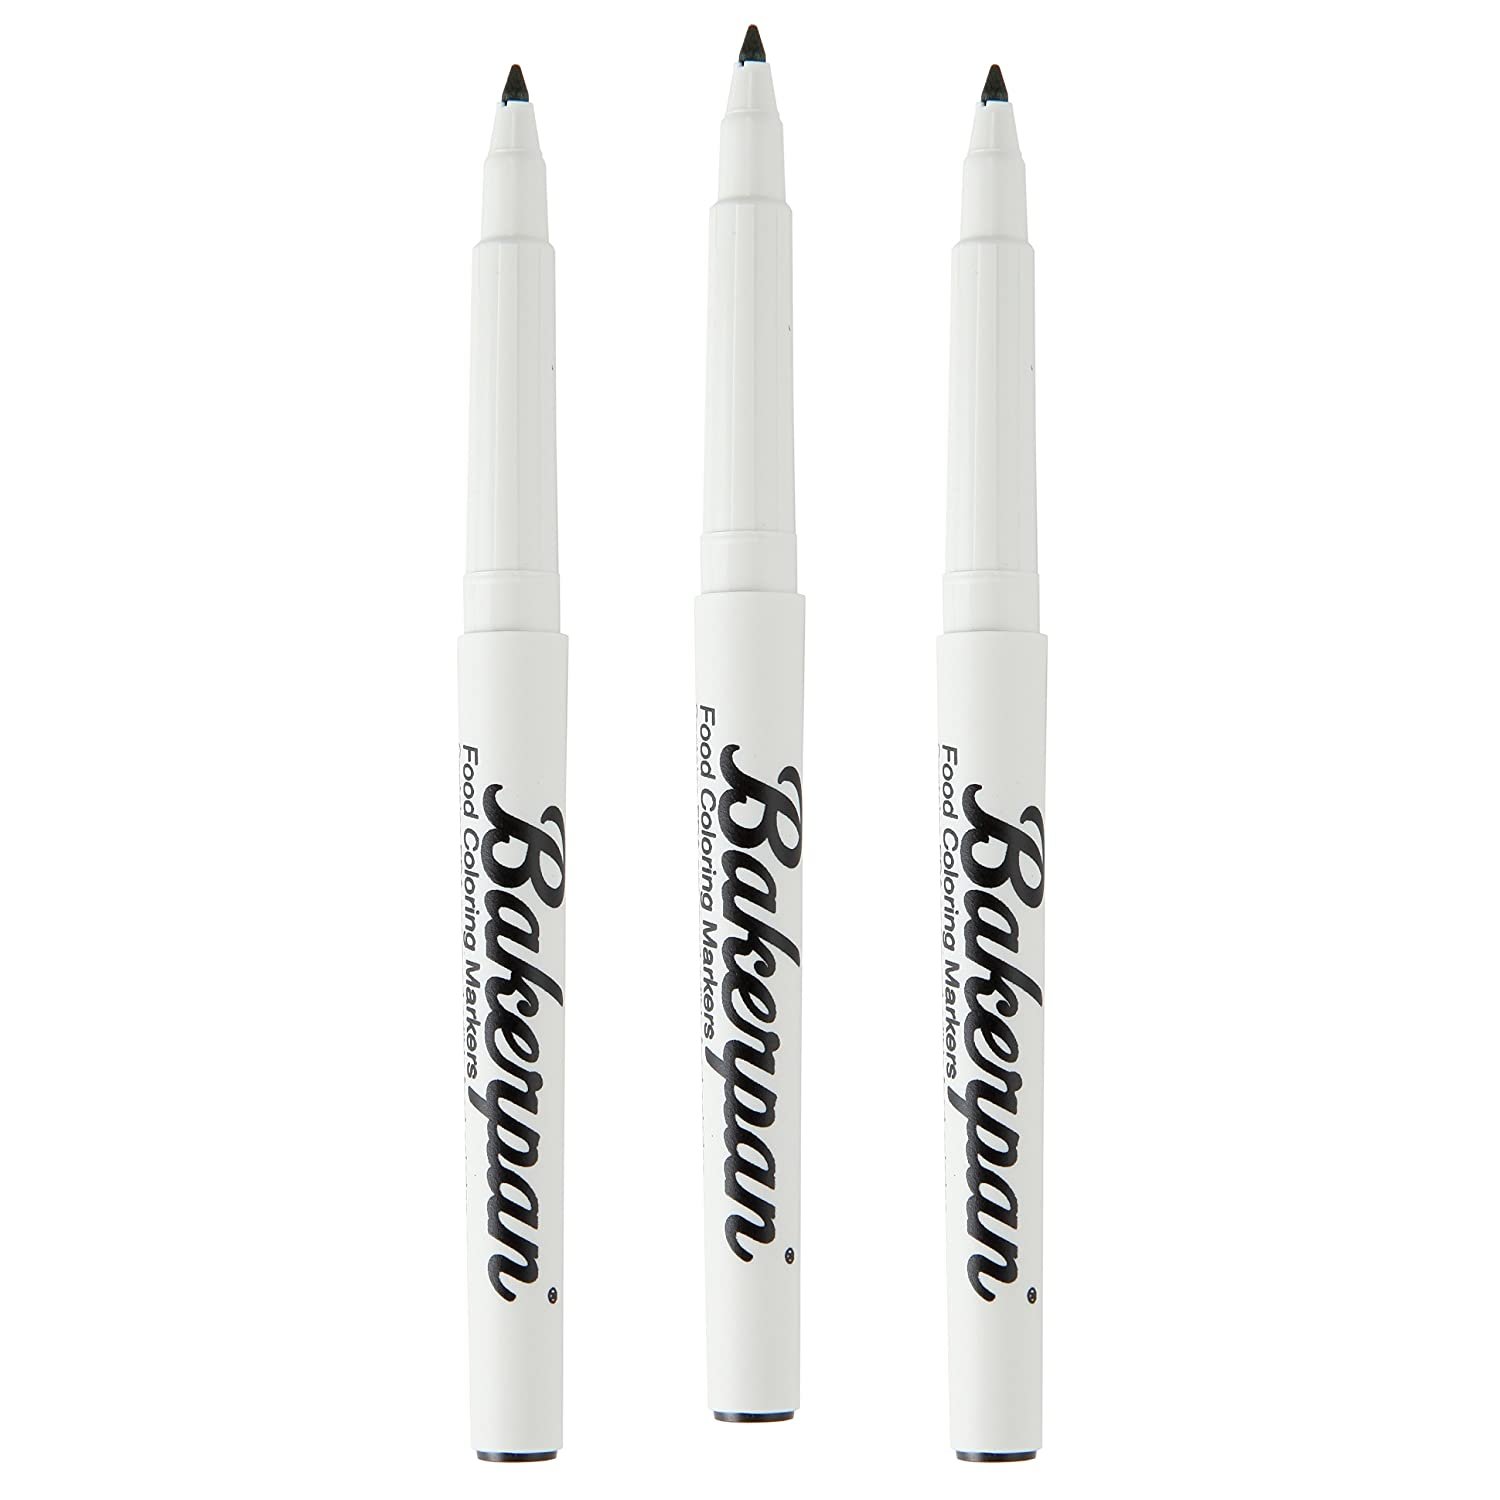
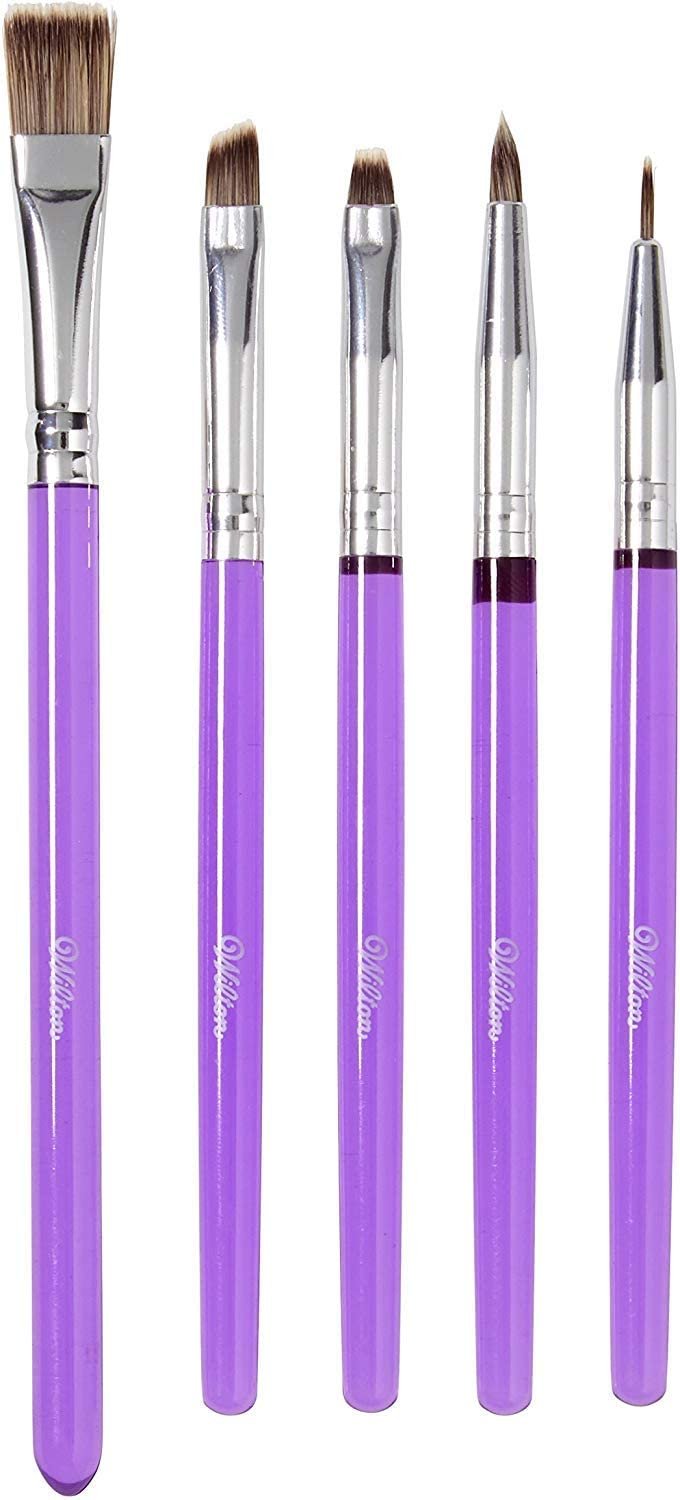
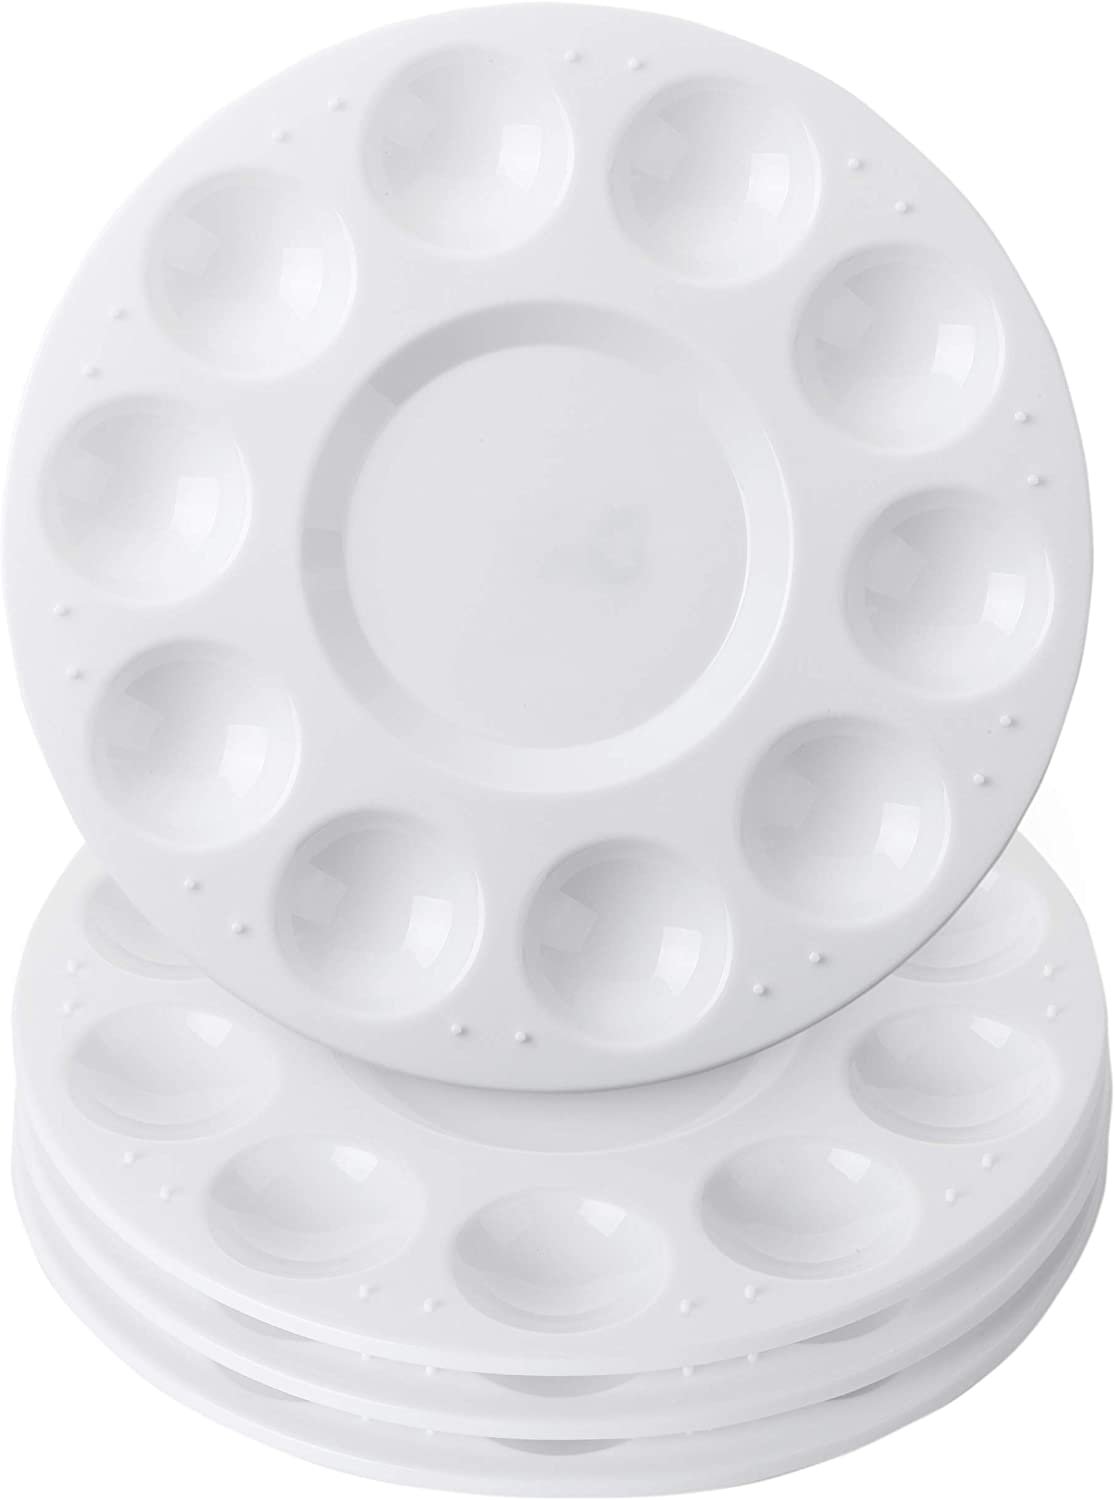
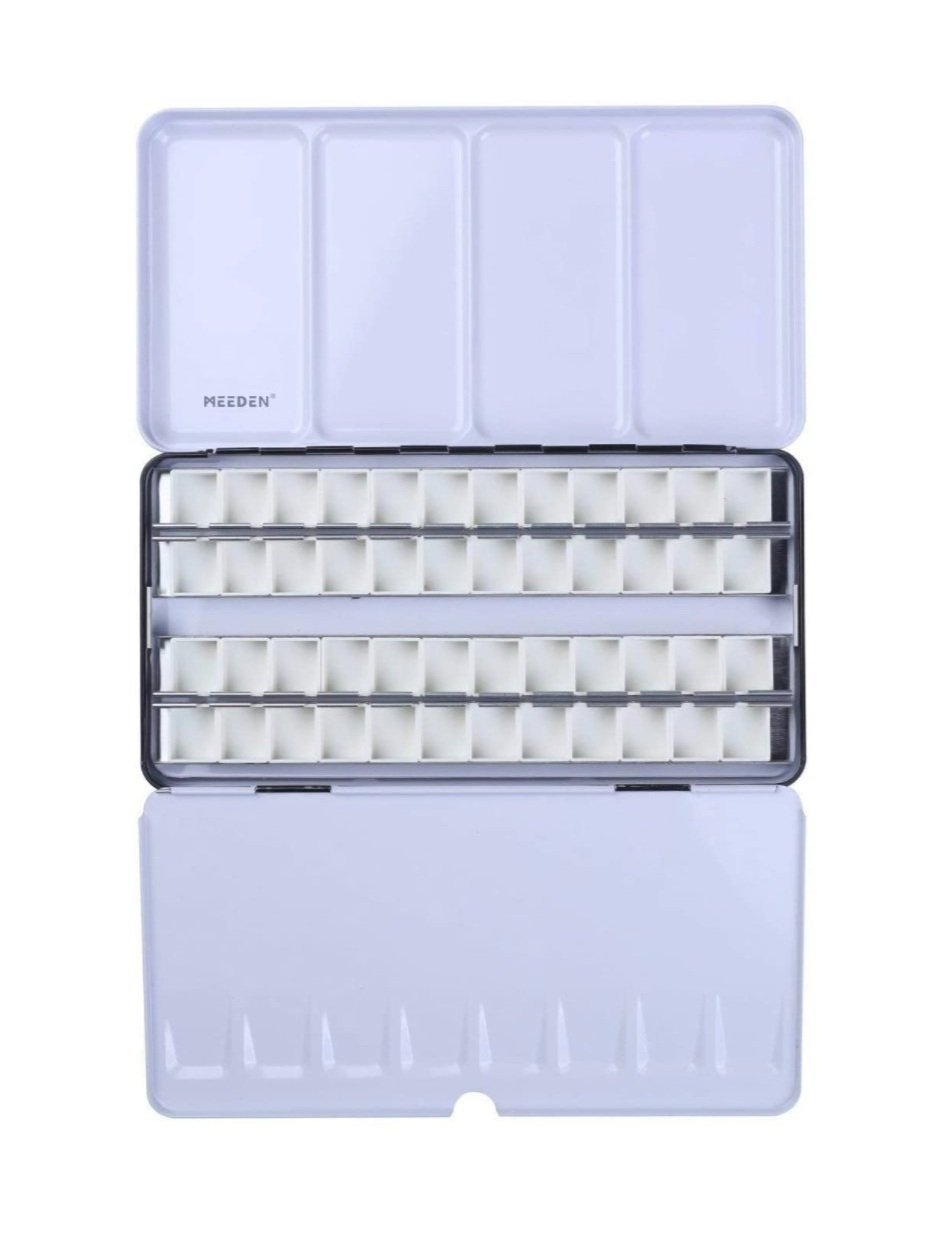
Edible Painting Supplies
Almond extract or water
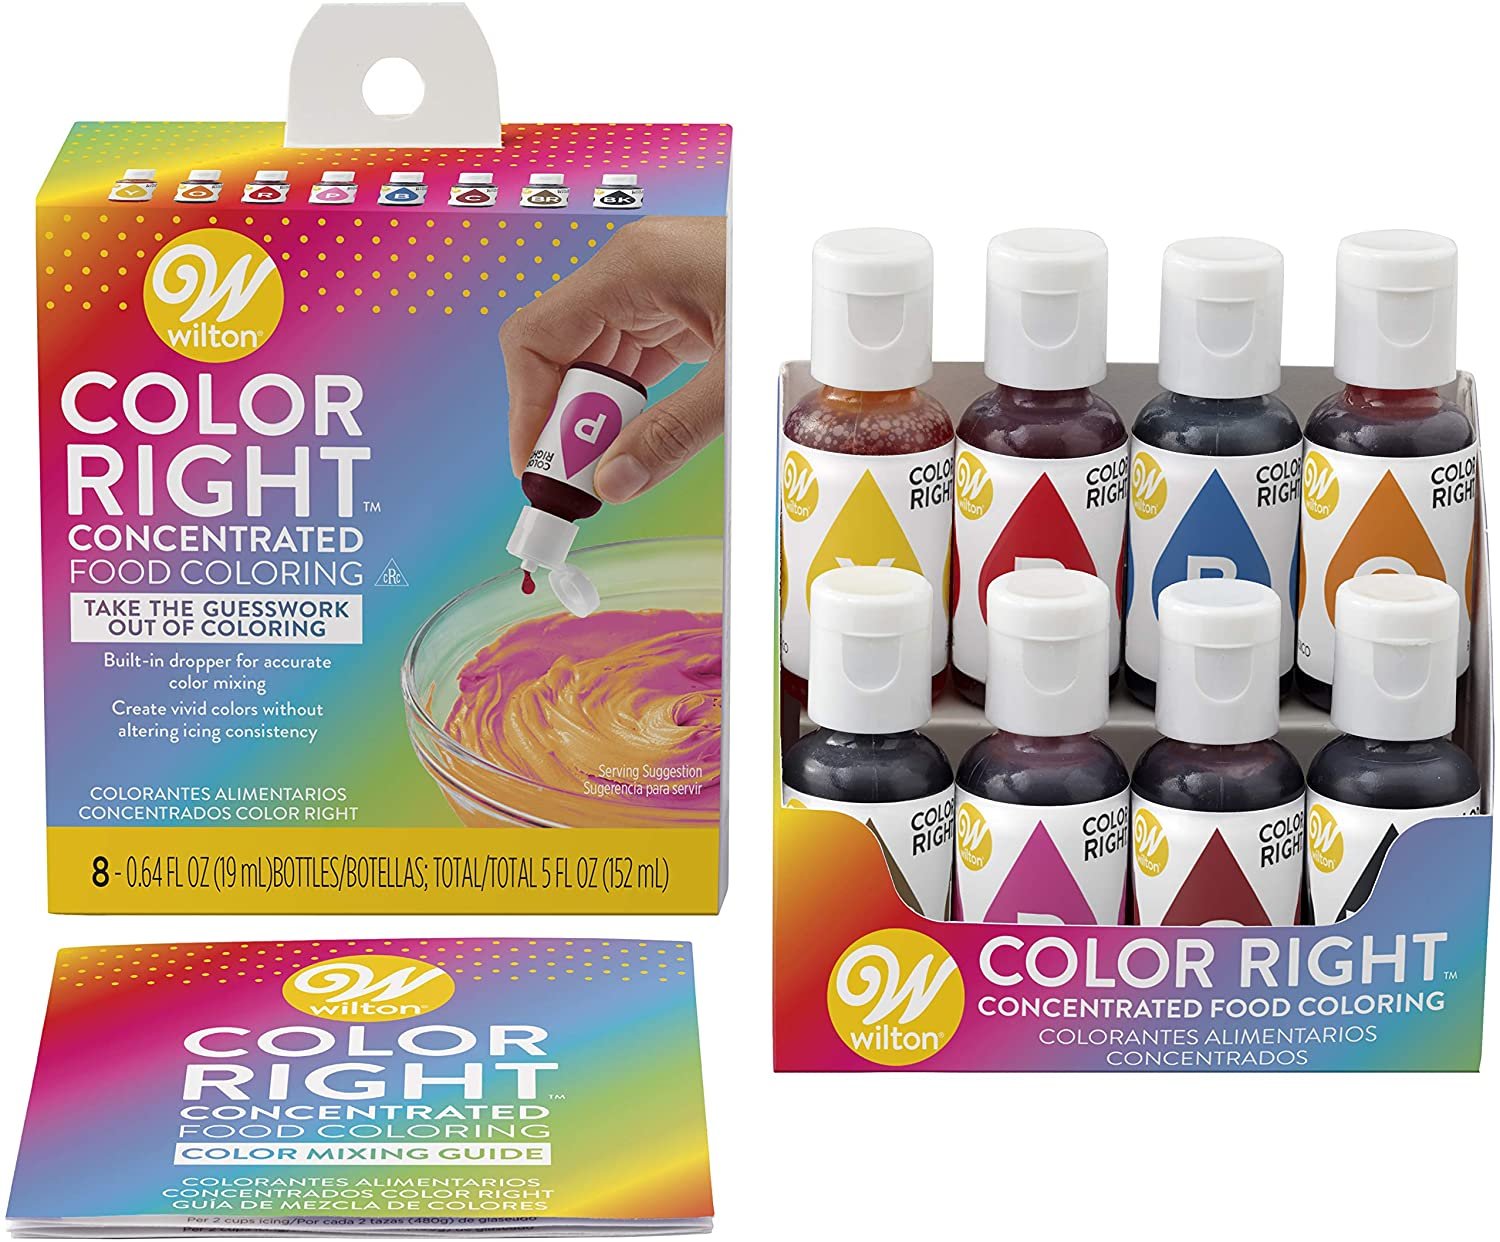
To make edible paint you will need a paint palette or a large serving platter to mix gel food coloring into an edible color palette. Simply squeeze one drop of each gel color color into your dish of choice. Then add extract or water to dilute and stir. Mix colors to achieve the shades you are looking for. To paint, use a small paint brushes (reserved for cooking only) to apply the edible paint onto the cookie. Make sure to not overdo the application or your cookie will become too wet and melt the frosting.
I hope you enjoy celebrating the start to the school year with these school themed cookies too! Please share your cookie creations with me over at @silvertoothhome. Cheers!